Yoga – to Reduce Tension, increase creative and intuitive abilities
Surya Namaskar (Sequence of twelve Asanas)

Yoga uncover the fascinating benefits, it stimulate not only the body but also the inner that is physically and mentally. Today yoga has become an increasingly integral part of the life. Researches are uncovering fascinating evidence of how the practice affects us mentally and physically and may help to prevent and assist in the treatment of a number of the most common ailments in our daily life. The study suggests yoga may have the potential to influence how strongly the genes you’re born with affect your health. Surya Namaskar the all time favourite of many yogas. A systematic technique which combines the twelve asanas in yoga.
Performing the Surya Namaskar get many health benefits. It reduces the tension from your body and mind, improves blood circulation, regulates your breathing, and stimulates the nervous system. According to Yoga masters Surya Namaskar activates the Manipura (Solar plexus) Chakra, which is located in the navel area and is called the second brain. This increases the creative and intuitive abilities.
Each steps in Surya Namaskar increases muscle flexibility in each part of the body. As a result, your body gets warmed–up to practice more powerful and complicated asanas. Practicing Surya Namaskar Awaken the spiritual knowledge and wisdom. The Sun Salutation can be a very good workout for the cardiovascular during a fast pace. On the other hand, it can be very relaxing and reflective when yoga postures are executed at a slower pace. Your body will surely stretch and become flexible with regular practice. Over the years, Surya Namaskar has gone through many changes, and as a result, many variations exist today.
The twelve steps of Surya Namaskar that you should practice every morning with tips on how to deepen into the pose.
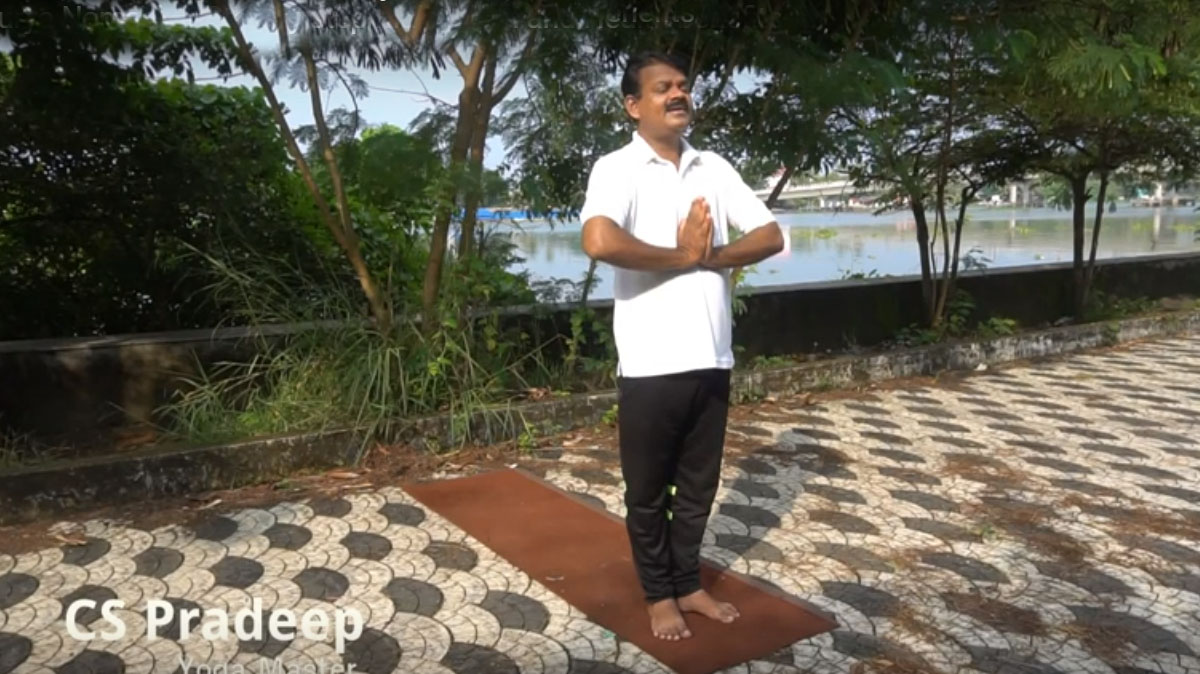
Step 1: Prayer pose – Pranamasana
Pranamasana is the first posture in the Surya Namaskar sequence. To accomplish this pose, stand upright and ensure that your feet are placed close to each other. Next, take a deep breath, expand your chest and relax your shoulder. During inhalation, raise your arms from the side and while exhaling join both your palms together as if you are praying. The prayer posture or first salutation is over.
step 2: Hasta Uttanasana (Raised Arms Pose)
Keep your feet together and distribute your weight on both feet equally. Put your palms joined together, like in the previous prayer pose. Take a deep breath, lift your arms and slightly bent backward. Your biceps must stay close to your ears.
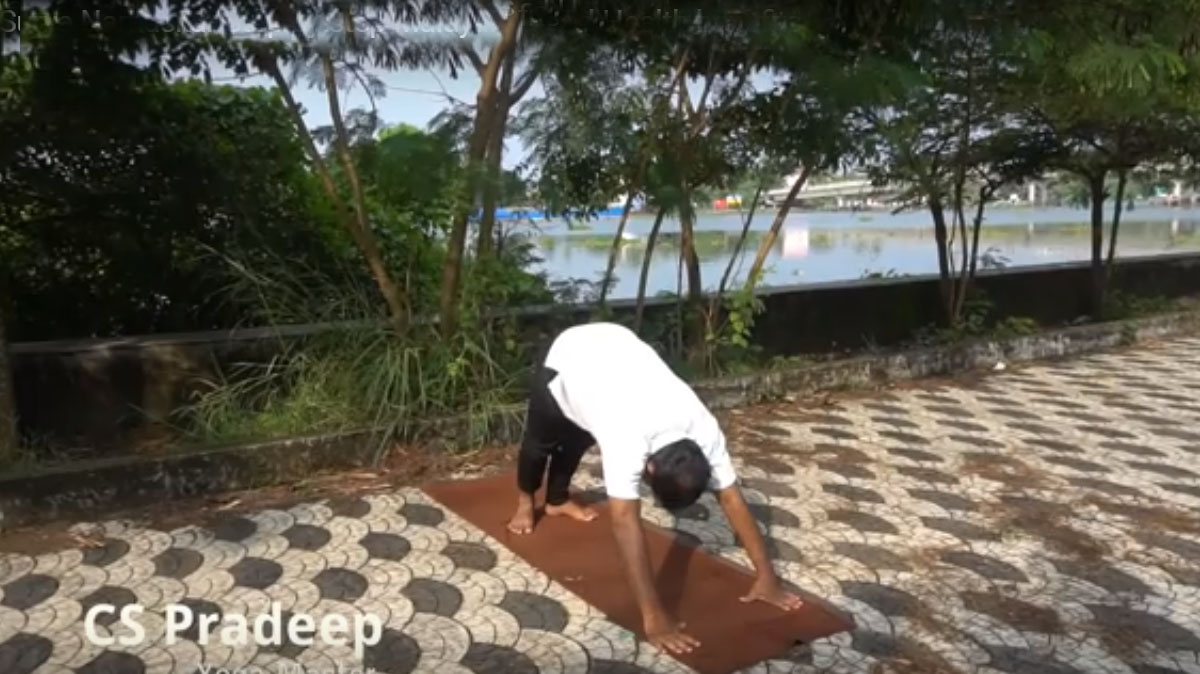
step 3. Hasta Padasana (Standing Forward Bend Pose)
Breathe out and keeping your spine straight bend forward from your waist. Try to touch the floor with your hands. However, ensure that your spine remains straight. While performing this pose, you should exhale slowly and thoroughly ring your hands down to the floor beside your feet.
step 4. Ashwa Sanchalanasana (Lunge Pose)
Breath in and push your right leg as far back as possible, bend your knees slightly, so that the palms can rest on the floor beside your feet. Take a deep breath, bring your right knee towards the right side of your chest and stretch your left leg backward. Raise your head and look forward.
step 5. Chaturanga Dandasana (Plank Pose)
Inhale and bring your right leg back as well. Now both your hands will be right under your shoulders. Ensure that your body is parallel to the ground. Bring your whole body in a straight line.
step 6: Ashtanga Namaskara (Eight Limbed Pose)
After performing Chaturanga Dandasana, exhale and slowly bring your knees down toward the floor. Rest your chin on the floor and keep your hips suspended in the air. Relax both your hands, knees, chin, and chest will rest on the ground while your hips will remain suspended in the air.
step 7: Bhujangasana (Cobra Pose)
Put your legs and midsection flat on the ground. Position your palms beside your chest and elbows bent. Inhale and apply pressure on the hands to raise your upper body. At this point, your head and torso will resemble a cobra dtyle.
step 8: Mountain pose (Downward Facing Dog Pose)
Keep your palms and feet where they are. Exhale and gently lift your hips, Put chest downwards to create an inverted V pose. Straighten your elbows and knees. Look toward your navel.
step 9. Ashwa Sanchalanasana (High Lunge Pose)
Breath in and bring your right foot forward in between the two hands, Bring your left knee down to the ground, Press your hips down then look up.
step 10. Hasta Padasana (Standing Forward Bend)
Inhale and bring your left foot forward put both foot parallel. Keeping the position of your hands intact, exhale and slowly bend your torso to enter into the Hasta Padasana pose.
step 11. Hasta Uttanasana (Raised Arms Pose)
Breathe in and lift your upper body. Join the palms and raise your arms above your head. Then bend backward as you did in step 2.

step 12. Pranamasana (Prayer Pose)
Breathe out and stand straight in a relaxed manner. Lower the arms and hold your palms in front of your chest. This marks the end of the first set of Surya Namaskar.
To reap the maximum benefits of Surya Namaskar, perform 12 sets of these 12 asanas every day, that is six rounds on the right leg and six rounds on the left leg.
